Professional painting advice and contractor vetting tips from Swift Painting LLC.
Key Takeaways
Thorough surface preparation is essential before painting in South Louisiana.
Always verify licensing, workers comp, and general liability insurance before hiring.
Consult with Swift Painting LLC for expert Sherwin-Williams color matching.
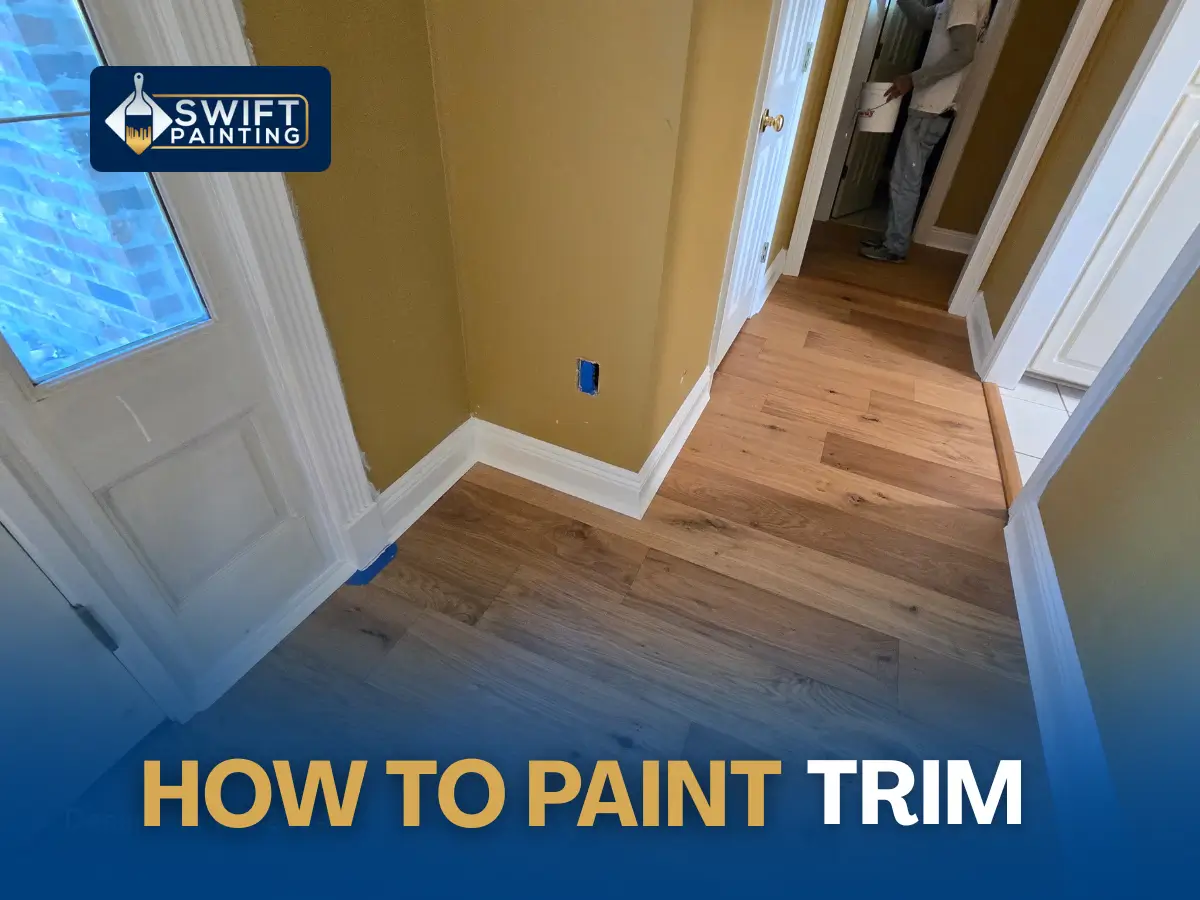
How To Paint Trim
Most homeowners attempt painting as a DIY project, but achieving professional results requires proper technique and knowledge. Painting trim presents particular challenges that demand attention to detail.
Tools Needed to Paint Trim Like a Pro
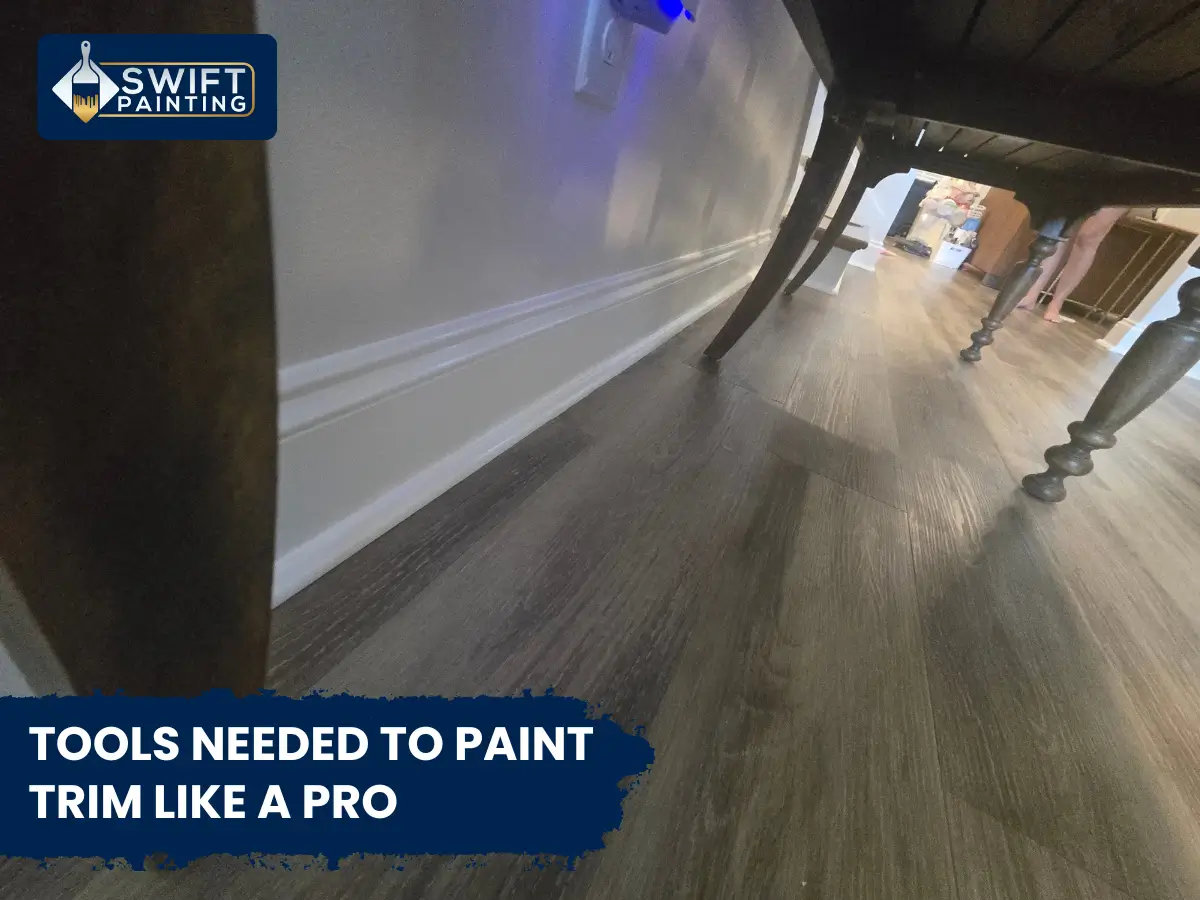
Essential equipment includes: light source, sanding pad/paper, putty knife, painters' tape, paintbrush, box cutter knife, fine-grit sand sponge, wood filler, spackling compound, paint, and caulk.
Step 1: Test For Lead Paint
Before beginning work on older trim, test the paint for lead before doing anything else. Lead and asbestos require professional handling. Certified painting companies can perform testing, or homeowners can purchase lead testing kits and follow EPA guidelines.
Step 2: Check For Flaws and Rectify Them
Inspect trim under bright light for rough edges, loose paint, and blemishes. Sand these areas smooth using appropriate materials. Use wood filler for large gouges, while spackling compound addresses small holes and dents. Apply multiple coats as needed and allow proper drying time.
Step 3: Remove Thick Paint
Eliminate thick paint accumulation using a putty knife, followed by thorough sanding and vacuuming.
Step 4: Cover Other Areas with Tape and Paint
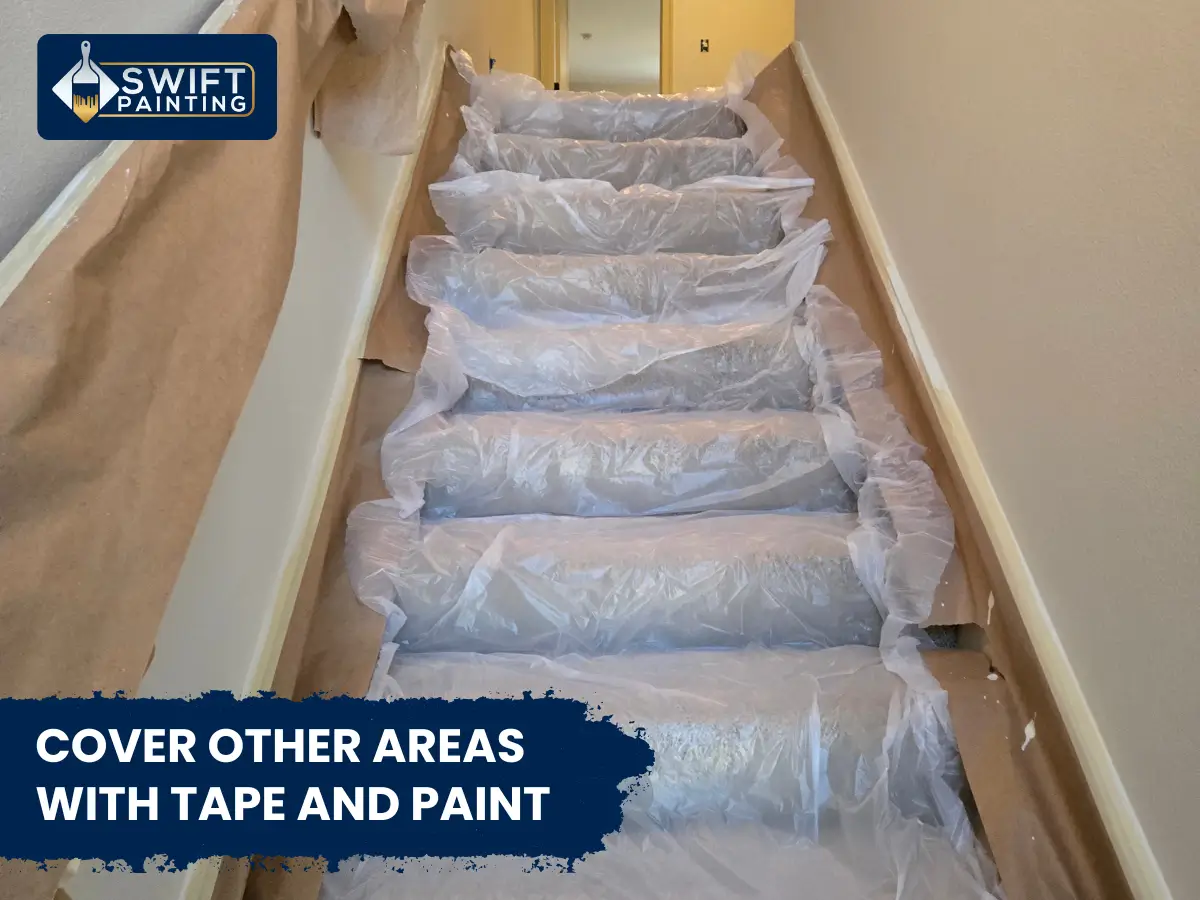
Apply painter's tape to protect surrounding surfaces. Sand between coats using fine-grit sponges to access crevices. Vacuum after sanding and wipe with cloth to remove dust. As you paint, feather each brush stroke into the wet edge rather than stopping and starting mid-run — this is what keeps trim lines crisp instead of showing lap marks once the paint dries. Let paint dry completely before carefully removing tape with a box cutter, starting in inconspicuous areas.
Paint trim before walls and ceilings for easier cleanup. Caulk wide gaps using paintable latex or silicone products.
Choosing Trim Paint
Oil-based paint is recommended as it doesn't dry quickly, allowing you more time for brushing. These paints produce smoother finishes with minimal brush marks. Most oil-based trim paints are dry to the touch in 6-8 hours but need a full 24 hours before recoating, so plan your project timeline around that window rather than rushing a second coat. Water-based alternatives offer easier cleanup but inferior results compared to oil-based options.
Conclusion
While DIY trim painting is possible, achieving impeccable results requires following these steps precisely. Professional painting companies like Swift Painting LLC provide guaranteed quality results.
Ready to Transform Your Home?
Whether you need exterior repainting, interior transformations, or custom cabinet spray refinishing, Swift Painting LLC delivers flawless results engineered for Louisiana homes.
Contact our expert team today for your free written proposal.